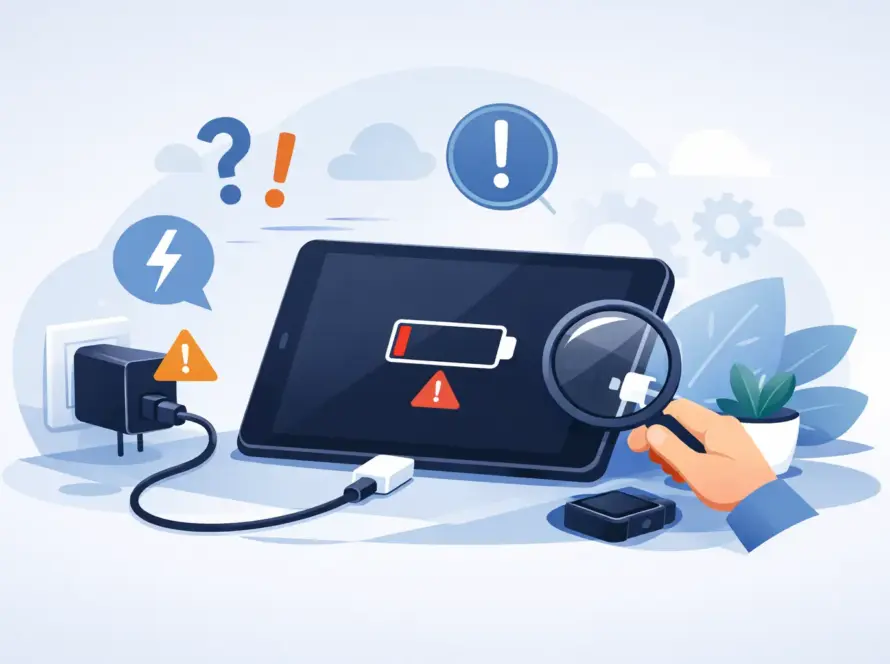
A cable that only charges at one angle is often blamed on the charger. More often, the charging port is packed with pocket fluff that has been pressed into the bottom over weeks or months. If you are searching for how to clean charging port safely, the goal is simple: remove loose debris without bending the tiny contacts inside or introducing moisture where it does not belong.
You do not need to dismantle your phone, use a pin or flood the port with cleaner. A careful approach takes a few minutes and can save you from replacing a perfectly good cable or booking a repair unnecessarily.
Check that the port is really the problem
Start with the basics. Try a second cable and a different plug adapter, ideally one you know works properly. Charging issues can come from a worn cable, a damaged plug, a faulty mains adapter, a software problem or a loose charging port – not just dirt.
Look at how the connector sits in the port. If it feels loose, does not click or seat fully, or slips out with very little movement, lint may be blocking it. Use a torch or your phone’s camera light to look inside. You may see a compact layer of grey or brown fluff at the bottom.
Do not force a cable into place. Repeatedly pushing a connector against compacted debris can strain the port and the cable tip. If your phone is showing a moisture warning, feels unusually hot while charging, or has been dropped, skip home cleaning and arrange a professional check.
What you need to clean a charging port safely
Keep the tools simple and dry. A wooden toothpick, a non-metal plastic pick or a very soft, clean brush are the safest choices for most phones, tablets and wireless earbuds. A bright light helps you see what you are doing.
Avoid sewing needles, paper clips, tweezers, safety pins and anything metal. Charging ports contain delicate contact points. One slip can scratch, bend or short them, turning a small cleaning job into a repair. Cotton buds are not ideal either, as fibres can break off and add to the blockage.
Do not spray water, household cleaner, contact cleaner or alcohol directly into the port. Even products described as fast-drying can leave residue, travel further into the device or affect internal seals. Compressed air can also push lint deeper into the phone or damage components if used too closely or aggressively.
How to clean charging port safely step by step
Switch the device off first
Power down your phone before you begin and disconnect it from every cable or charger. This reduces the risk of an accidental short circuit and makes it easier to work carefully. Remove the case if it blocks your view or makes it hard to hold the device steady.
Set the phone on a clean, well-lit table with the port facing you. Avoid trying this while walking, travelling or holding the device in one hand. A stable surface gives you far more control.
Loosen lint gently, not deeply
Use the wooden toothpick or plastic pick to touch the debris lightly. Work around the edges of the port rather than scraping hard at the centre. The idea is to lift lint out in small pieces, not dig as far as possible.
Use short, gentle movements and keep the pick angled so it follows the lower inner edge of the port. Do not jab upwards or apply force. If the debris is tightly packed, pause after each small piece and check your progress with the light.
For a USB-C port, be especially cautious around the central internal section. For Lightning ports, take care around the small contact areas along the base. The exact layout differs by device, but the rule is the same: clean the fluff, not the electrical contacts.
Brush away loose dust
Once larger debris has been lifted, use a soft dry brush around the opening to remove loose dust. A clean, unused soft toothbrush can work if the bristles are genuinely soft, though a small electronics brush is better. Brush outward where possible so dust leaves the port rather than being pushed in.
Turn the device port-down over the table and give it one or two very gentle taps. Do not shake it aggressively. Check the port again with your light. If you can still see a hard layer at the bottom but cannot remove it without force, that is the point to stop.
Test the connection carefully
When the port looks clear, reconnect the cable without forcing it. It should fit more securely than before and charge consistently when the phone is placed still. Test with the cable straight, then move it very slightly. A working connection should not cut in and out with normal movement.
If charging has improved, you are done. Keep an eye on the first charge cycle to make sure the phone does not overheat or repeatedly connect and disconnect. If it still charges only at an angle, the issue may be a worn cable, damaged connector, internal port fault or battery problem.
When cleaning at home is not the right fix
Home cleaning is suitable for visible dry lint and light dust. It is not a solution for corrosion, liquid damage, a loose port, bent contacts or a device that will not charge at all. These faults need the right tools and an inspection before more damage is done.
Book a repair check if you notice a green, white or rusty-looking deposit, a burning smell, repeated overheating, a visible bent pin or a port that moves inside the phone. The same applies if your device was recently exposed to rain, a spill, steam or sea water. Do not try to dry a wet port by charging it – leave it disconnected and get advice.
A charger that becomes hot, sparks, has exposed wires or only works when twisted should be replaced. Cleaning the port will not make an unsafe cable safe. Using a quality cable and suitable charging adapter matters just as much as keeping the port clear.
Keep lint out of the charging port
Pockets, handbags and car cup holders collect more debris than most people realise. Make a quick visual check part of your routine if your phone regularly travels without a case. A case with a port cover may help for outdoor work, commuting or frequent travel, although it can be less convenient for everyday charging.
Avoid storing the loose end of a charging cable at the bottom of a bag where it can pick up dust and crumbs. Wipe cable connectors with a dry, lint-free cloth and replace cables once the ends are visibly worn. A clean port paired with a damaged cable will still give unreliable results.
Wireless charging can reduce wear on the physical port, but it is not the answer for every device or every situation. It may charge more slowly, create more heat and does not help when you need a cable for data transfer. For most people, a good cable, a clean port and careful charging habits are the most practical combination.
If a careful clean does not restore a firm, reliable connection, do not keep poking at the port. A quick inspection from a repair specialist can identify whether you need a cable, a charging-port repair or a different fix – and gets you back to reliable charging without risking your device.