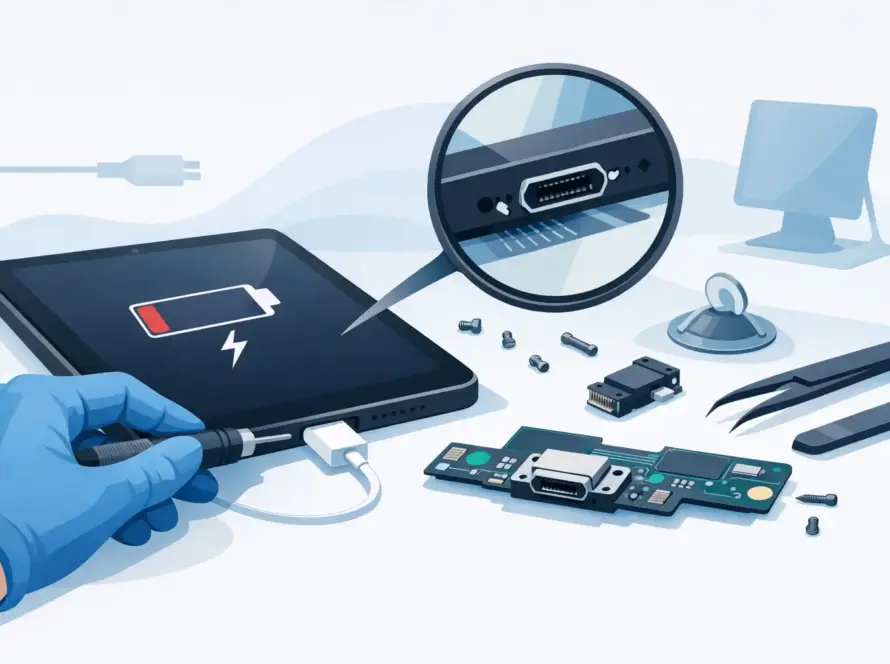
A cracked screen can be annoying. A repair that leaves you without years of photos, chats or login details is far worse. Taking time to back up phone before repair protects what matters most, whether your device needs a battery replacement, charging-port repair, screen repair or a more complex fault check.
Most reputable repair work does not require wiping a phone. But diagnostics, software faults and unexpected complications can make a reset necessary. A proper backup gives you options. It also means you can collect your repaired device, sign back in and get on with your day without a stressful scramble for lost information.
Why you should back up your phone before repair
Your phone holds more than contacts and holiday pictures. It may contain work emails, notes, school documents, two-factor authentication codes, payment apps, saved passwords and conversations you would not want to lose.
A technician may need to test the display, cameras, speakers, charging function, buttons, mobile signal or software after a repair. In many cases, that can be done without accessing your personal content. Still, an existing fault might worsen during testing, or a device may need a reset to resolve a software issue. Backing up beforehand puts you in control.
There is also a practical reason. If the repair takes longer than expected, you can use a spare phone or temporary handset with far less disruption. Your contacts, key apps and files are already stored safely elsewhere.
Start with the backup your phone already offers
For most people, cloud backup is the simplest first step. It stores a copy of selected data online, tied to your account, so it can be restored to the same phone or a replacement device later.
On an iPhone
Open Settings, tap your name at the top, then choose iCloud and iCloud Backup. Turn on iCloud Backup if it is not already active, then select Back Up Now. Keep the phone connected to Wi-Fi and power until the backup finishes.
Check that important services are enabled in iCloud too. Photos, Contacts, Notes, Messages and iCloud Drive each have their own settings. If iCloud storage is full, your backup may not complete. You can remove unwanted files, increase your storage plan or make an encrypted computer backup instead.
On an Android phone
The route varies slightly by brand, but on many Android devices you can open Settings, then Google, Backup, and turn on backup by Google One. Tap Back up now and leave the phone on Wi-Fi while it completes.
Google backup can save contacts, call history, device settings, some app data and text messages. Photos and videos are often managed separately through Google Photos, so open the app and check that backup is enabled. Samsung users may also have Samsung Cloud options for selected settings and data.
Cloud backup is convenient, but it depends on a stable connection, sufficient storage and enough battery charge. If you have thousands of videos, allow more time than you think. Starting an hour before leaving for repair may not be enough.
Save a second copy of your most valuable files
A cloud backup is useful, but photos, videos and documents that cannot be replaced deserve a second copy. This is especially true if your phone is already restarting, overheating, not charging reliably or showing storage errors.
You can transfer files to a laptop, desktop computer or external drive. iPhone users can import photos to a Mac or Windows PC. Android users can usually connect a USB cable, choose file transfer on the phone and copy folders such as DCIM, Downloads and Documents.
If the screen still works, check your messaging apps as well. WhatsApp has its own chat backup setting, separate from your phone’s main backup. Signal, Telegram and similar apps can each handle history differently. Do not assume every conversation will reappear just because you signed into a new device.
For banking, shopping and travel apps, make sure you know how you will sign in again. Some require a text message, an email confirmation or an approval from another trusted device. A repair is not the time to discover that your recovery email is out of date.
Check that the backup actually finished
A backup process is only helpful if it completed successfully. Before you set off, check the date and time of the latest backup in your phone settings. It should show a recent time, not last week or last month.
Open your photo backup app and confirm that the newest photos are visible. Look at your contacts in your account settings if possible. If you have copied files to a computer, open a few of them to make sure they transferred properly.
This quick check is worth doing because common issues are easy to miss: Wi-Fi may have dropped, storage may have run out, or a backup could have paused when the battery was low. A completed backup should be visible, not just assumed.
Prepare your phone without blocking the repair
Once your data is safely backed up, prepare the handset for the repair appointment. The right steps depend on the fault and the repairer’s instructions, but this checklist covers the usual essentials:
- Charge the phone to at least 30 per cent if it will hold a charge.
- Remove your SIM card, memory card and physical case unless asked to leave them in.
- Bring the passcode if the technician needs to test features after the repair.
- Disable any screen-lock settings only if the repairer specifically asks you to do so.
- Record the phone’s condition with a few clear photos, including existing marks or damage.
Do not factory-reset the phone before asking the repairer whether it is needed. A reset can make fault diagnosis harder, particularly when the issue involves apps, settings, mobile signal or intermittent crashes. It can also remove useful evidence of the problem.
If you are concerned about privacy, ask how device access is handled. A professional repair service should explain why access may be required and only use it for testing. You can log out of particularly sensitive apps, remove saved payment cards where appropriate, and switch off notifications on the lock screen.
Know when a backup needs a different approach
Not every damaged phone behaves normally. If the display is black but the phone still vibrates or rings, you may be able to connect it to a computer or use a previously enabled cloud backup. If touch input has failed, avoid repeated forced restarts unless necessary, as this can make an unstable device harder to access.
If the phone will not power on, has water damage or is stuck in a boot loop, do not keep charging or trying random software fixes. The priority may be getting the device stable enough to recover data before a full repair. Tell the technician exactly what happened, whether it was dropped, exposed to liquid or began failing after an update. That information can affect the safest repair route.
A memory card is another exception. Photos stored on a microSD card may not be included in your normal phone backup. Remove it and keep it with you where possible, then copy its contents separately when you can.
After the repair, restore carefully
When you collect your phone, test the original issue before leaving if possible. Check the screen, charging, cameras, speakers, microphone, buttons and mobile connection. If the device was reset, sign in using your usual account and restore from the most recent backup.
Restore can take time, particularly for photos, app downloads and messages. Keep the phone connected to Wi-Fi and power at home rather than relying on mobile data. Re-open banking and authentication apps early, because these may need extra security checks.
Your phone is central to everyday life, so a few minutes of preparation can save days of hassle. Back up first, confirm it is complete, and bring clear details of the fault. When you are ready for a fast, straightforward repair, InstaTech can help you get your device back in working order with less worry.